A loose coat of light woolen fabric with the same front and wrong side can be sewn without lining. The main thing in this model is to process all open cuts and allowances correctly and beautifully.

In this master class, the seam allowances are processed with a finished oblique trim, and for open sections decorative processing using knitting threads is provided.
The coat is stitched according to the pattern:
- Special offer

- 1
- 2
- 3
- 4
- Special offer

- 1
- 2
- 3
- 4
You will need:
✂ Light wool double-sided fabric (with the same front and wrong side);
✂ Ready oblique tie;
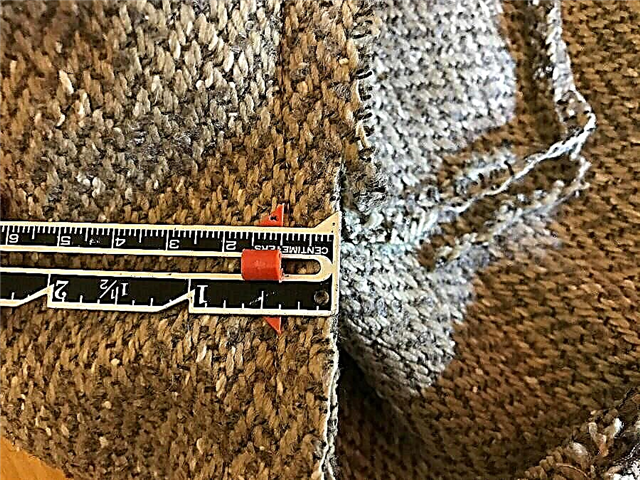
✂ Ruler for marking allowances;
✂ Threads and needle for sewing;
✂ Tailor scissors;
✂ Tailor pins;
✂ Thread and crochet hook;
✂ tracing paper
Step 1

Remake the details of the paper pattern on the fabric. Moreover, the back cut out one-piece, without a middle seam.
Oversizes on the details of shelves and backs:
on the side and shoulder seams - 1.5 cm, on the bottom of the coat and outer sections (lapels and neckline) - without allowances (!).
Oversizes on sleeve details:
by cuts - 1.5 cm, to hem the bottom of the sleeves - 4 cm.
Allowances for details of patch pockets with one-piece edging:
by cuts - 1.5 cm.
Step 2


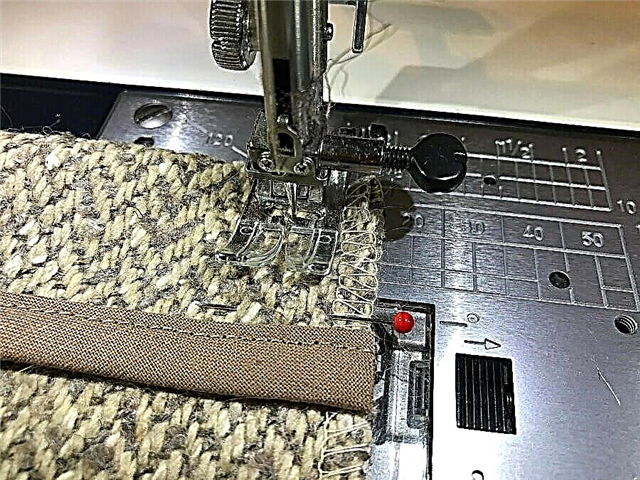
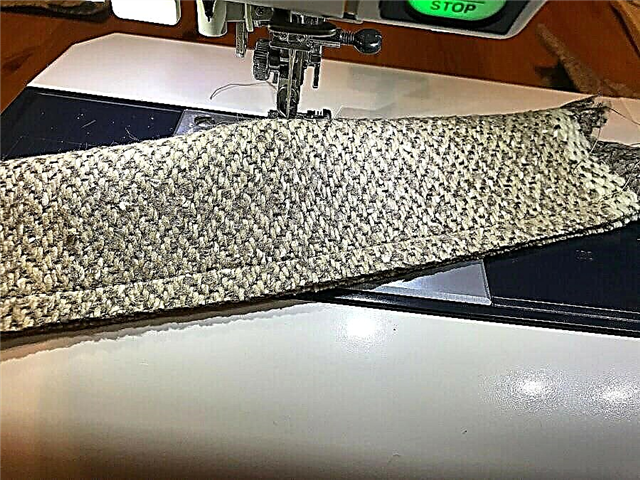
Open sections of the side, shoulder seams and seams of the sleeves with a finished oblique trim.
For the convenience of performing this operation, use the special foot for the slanting inlay. How to use the foot, read in our master class:
Foot for slanting inlay: how to use
Step 3

Fold the parts of the shelf and backrest together, chop or sweep and make side seams at a distance of 1.5 cm.

Iron the seams.

Then iron them on the front side.
Step 4

Perform shoulder seams.
Iron the seams.
Then iron them on the front side.
Step 5


Sew the side and shoulder seam allowances from the wrong side to the edge. At the same time, select the threads that are most suitable for the tone of the fabric so that they are not visible from the facial soron.
Or sew the stocks of parts manually with a hidden stitch.
Basic Hand Stitches
Step 6

Complete the seams of the sleeves.
Iron the seams.
Iron them on the front side.

Then sew from the wrong side to the edge, the width of the sleeve allows you to perform this operation on a sewing machine.
Step 7

Stitch the sleeves in the armholes.

Take it. Stitch in.
Step 8


Cut the allowances for the seams in the sleeve-in sleeves to 1 cm and work on the overlock with a wide three-thread seam.
If your coat fabric is plastic and not very dense, then allowances for sewing in the sleeves of the sleeves can also be treated with a slanting inlay.
Step 9
Treat the slice at the bottom of the sleeve with a slanting inlay.

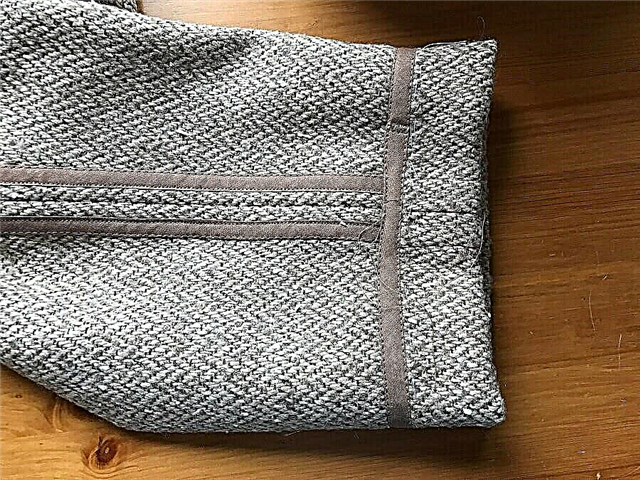

Turn off the hem allowance on the seamy side, stitch and sew on the sewing machine.
Step 10

If your fabric is slightly crumbled into sections, like mine, then all open sections along the board, lapels, neck and bottom of the coat should be pretreated on the overlock with a wide three-thread stitch or a zigzag stitch on a sewing machine.
This will prevent the thread from spilling out during the next cut processing.
Step 11
Process sections of pockets on an overlock. Treat the top cut with an oblique inlay.


Unscrew the whole-finished pocket turning on the front side and stitch it in short cuts at a distance of 1.5 cm.


Turn out the trim and iron it.
Sections also unscrew on the wrong side at a distance of 1.5 cm, bast and iron.


Place fillet points along the edge and iron.
Step 12

Choose woolen threads for knitting that are suitable in thickness and color to the fabric of your coat and tie them with a crochet hook to all open sections. As well as the top edge of the pockets.
How to sew a sheepskin vest without a sewing machine
Or, with the help of a large needle and knitting threads, process the open sections manually with the simplest sewing stitch.
How to sew a stitching seam manually: the easiest way
Attention!


For the processing of sections, I chose woolen threads that are most suitable for the fabric in general tone. But later I bought others, contrasting, as they seemed to me more suitable for this coat and remade. Reprocessing is also done using a crochet hook.
Step 13

Pin the pockets on the right and left shelves exactly according to the marking.

Stitch to the edge.


Lay the second line, departing from the first 1 cm.
Step 14


Fold the tied belt along in half along the front side inwards. Stitch along a long slice. Turn out. Postpone short cuts. Iron the belt.
If your belt does not have a fringe in short sections that can act as a decorative element, then grind the belt along the sections, leaving a small section for turning out in the long seam. Turn out the belt, sew the open area manually with a blind seam.
For the belt, you can make loops in the traditional way or decorative, for example, such as I showed in the previous master class:
How to make loops of thread for knitting

The author of the master class and photo: Julia Dekanova