We sew a "nest-cocoon" for the baby with our own hands: a pattern, a step-by-step master class and video.
A cocoon mattress is a convenient device that helps the smallest children to lie or sleep in convenience and comfort, and makes life easier for young parents. Usually a cocoon mattress is relevant for babies up to 4-6 months. Such a "cocoon nest" you can sew with your own hands for your child or as a gift. The cocoon is two-sided: it can easily be turned out and used on both sides, which is very convenient. It can be washed by hand and in the washing machine.
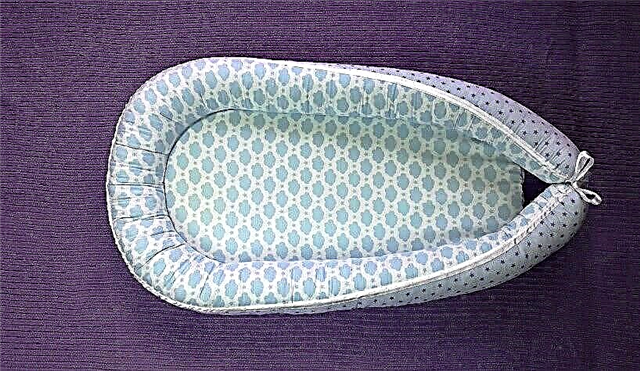
Take a cotton fabric that is not too thin, but not too coarse for the cocoon. Before work, it is better to wash, dry and iron it.
Photo: pinterest.com
How to sew the sides in a crib: two easy ways
You will need:
- two cuts of cotton fabric with a size of 105x65 cm (of the same or different colors);
- finished oblique inlay 3-4 cm wide, about 2.5 m long (it is better to take with a small margin) under the tape (cord) to tighten the nest;
- a ready-made oblique collar about 70 cm long for processing the edge of the nest;
- satin ribbon or cord about 2.8 m long;
- foam rubber with a thickness of 2 cm, a piece of 68x28 cm (the size is already cut to the required measurements, so when buying, focus on slightly larger measurements);
- holofiber, it is also syntepuh - 1 kg;
- lace - optional, length from 2.4 m;
- to build a pattern: a large sheet of paper, a ruler, a square, a pencil, scissors;
- crayon, pencil or marker for fabric;
- sewing machine and thread in fabric color;
- pins;
- safety pin;
- threads and a manual needle for panning;
- tailor's scissors;
- iron.
DIY envelope for a newborn
Work sequence:
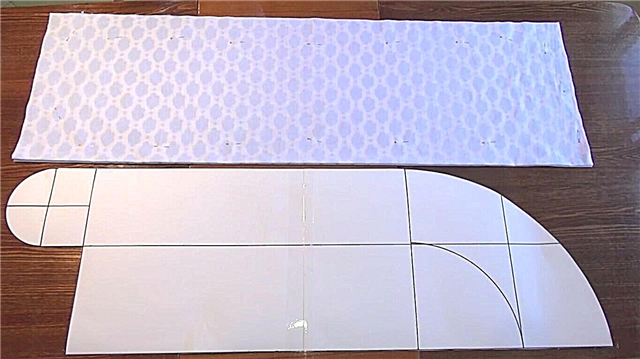
1. Transfer the pattern to a large sheet of paper and cut out the pattern. (For this workshop, transfer to paper and cut out half of the pattern, dividing it in half lengthwise.)
Cocoon pattern:
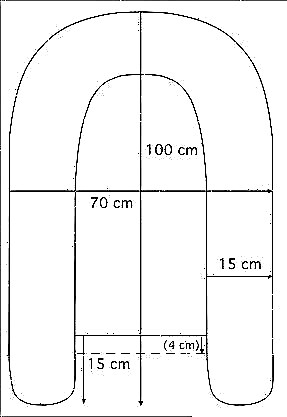
Photo: pinterest.ru/yulianagunawan99
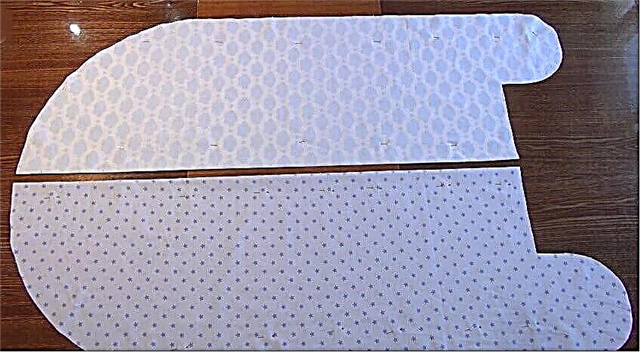
2. Fold each of the two fabric sections along the front side in half and pin them together. Lay both folded fabric cuts on top of each other so that the fold lines exactly match.
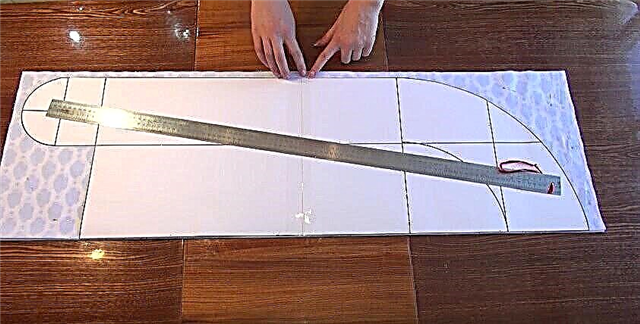
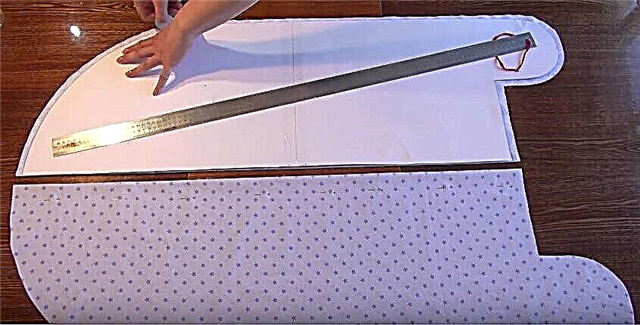
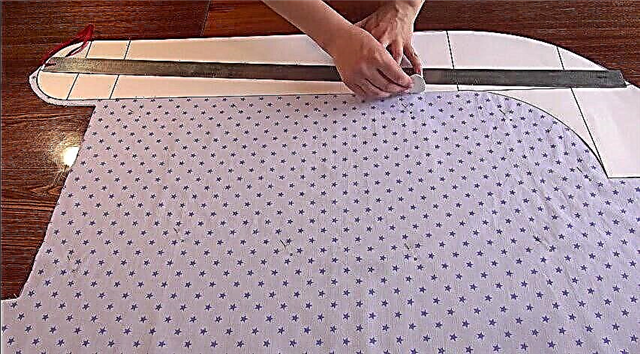
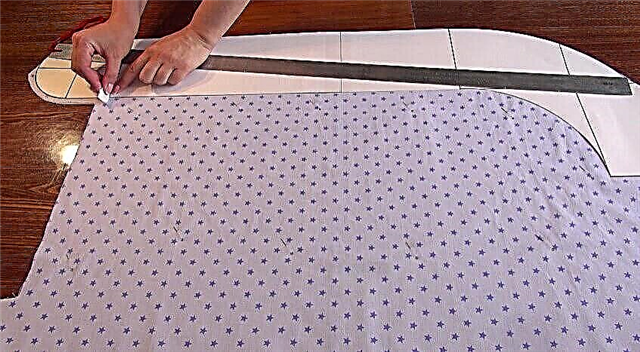
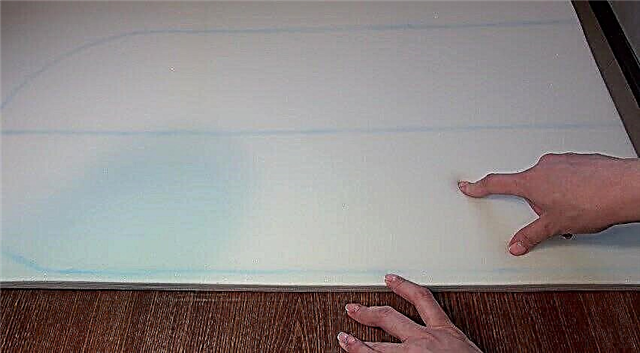
3. On top of the fabric, lay the pattern so that its edge coincides with the folds of the fabric cuts (so that the pattern does not move, it is convenient to put on top, for example, a long ruler). Circle the pattern.
4. At a distance of 1 cm from the drawn line, draw another one, marking the seam allowances.
5. Make a check mark as shown in the photo.
6. For fidelity, pin both sections of the fabric with pins (piercing 4 layers of fabric respectively) and cut out both parts of the cocoon at once. Remove the pins that you just stabbed.
7. Turn over the detail of the cocoon, on the half of which there is already marking, turn over and, having attached the pattern, circle it (repeat step 3) - this will give you a completely marked part. Do not forget to put a check mark (see paragraph 5).
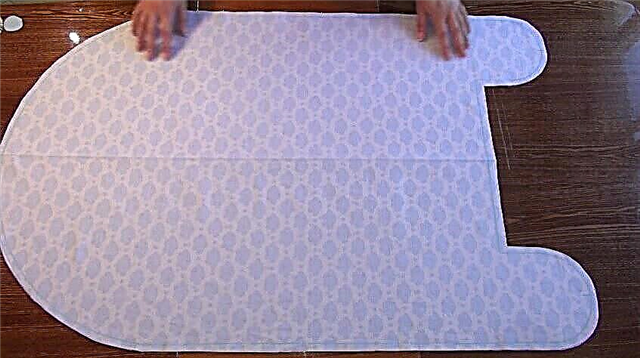
8. Remove the remaining pins from both parts, unfold the parts and fold them face to face. Chip them with pins around the perimeter.
9. On a sewing machine, sew a line along the line drawn from one reference mark to another, stitching the parts along most of their perimeter. Make stitches at the beginning and end of the line. Take out the pins.
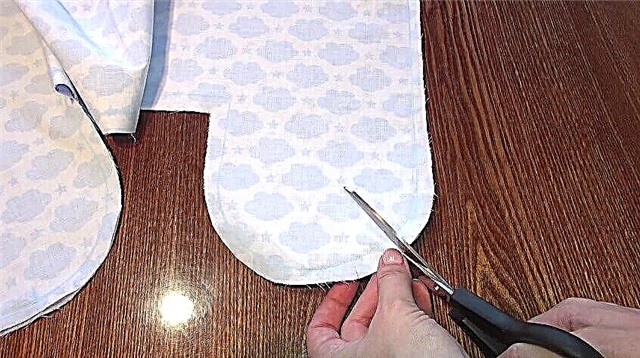
10. For all rounded places of the cocoon near the seam, make notches with scissors, not reaching the seam 2-3 mm. Then flatten the entire seam and twist the cocoon.
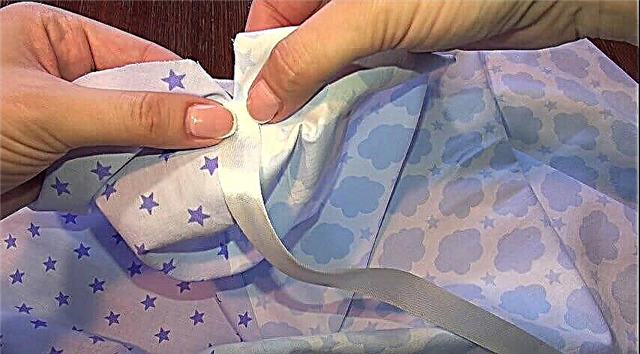
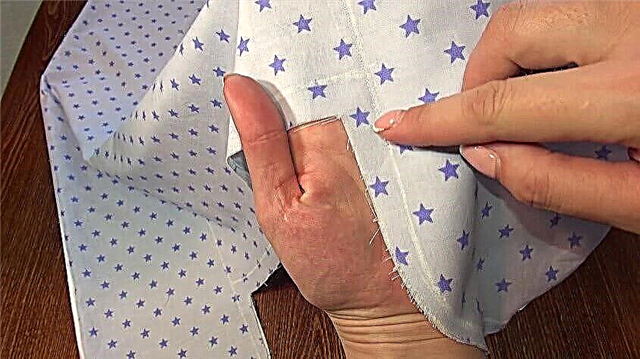
11. Now, along the entire length of the made and ironed seam, it will be necessary to sew an oblique trim. Lay out the cocoon and attach the folded edge of the inlay to the beginning of the seam, as shown in the photo. It is necessary to stitch the necklace with two seams to the edge so that the seam connecting the details of the cocoon remains in the middle under the neckline - this is how we form the drawstring. Fasten at the beginning and end of each seam.In heavily rounded areas, sew more slowly to make the seam more accurate.
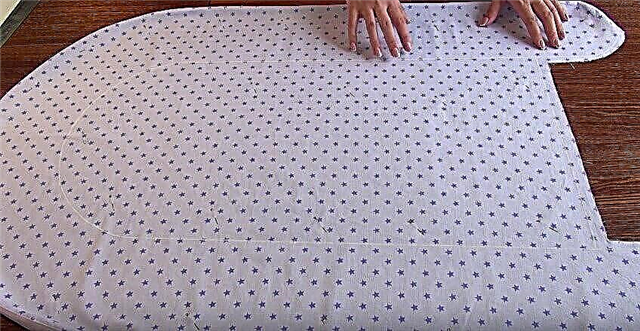
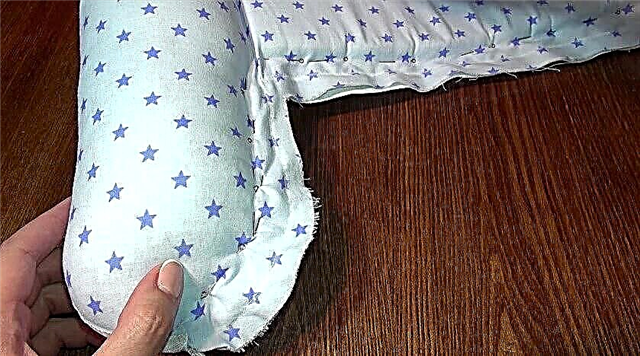
12. Spread the cocoon, fold it evenly and pin it along the perimeter with pins. It is necessary to fix both sides relative to each other.
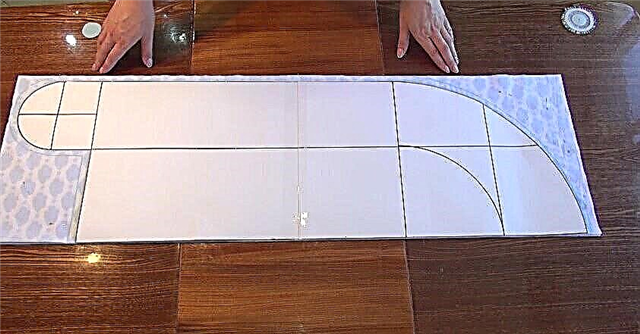
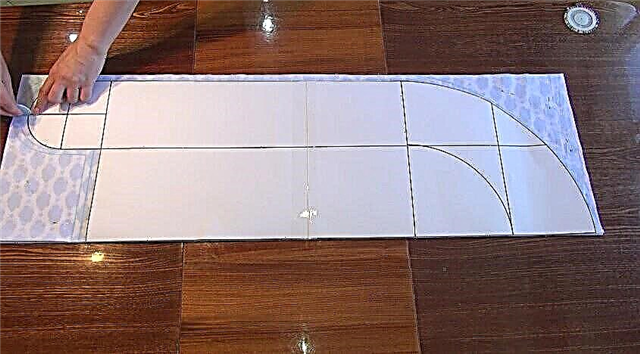
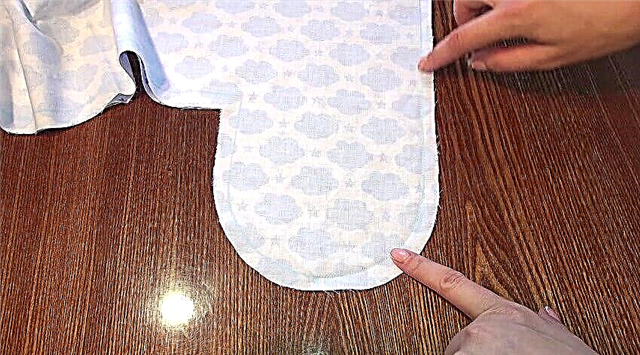
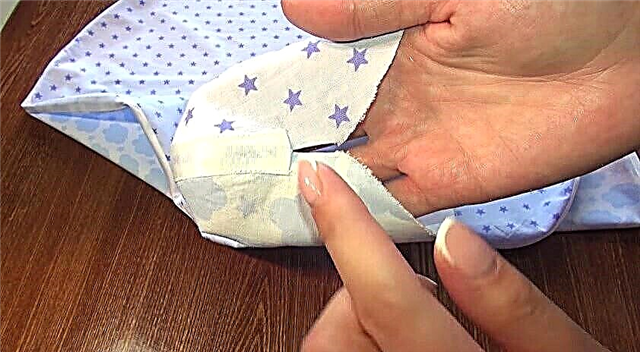
13. From the paper pattern, cut out the central part (see photo). Attach the rest of the rounded part of the pattern to the cocoon, as shown in the photo. The rounded edges of the pattern and the cocoon should match.
14. Circle the fabric on the inside. Make a check mark as shown in the second photo. Repeat on the other side and connect the two check marks with a straight line.
15. Lay the line along the inner rounded line, starting a little earlier (see photo). Make stitches at the beginning and end of the seam.
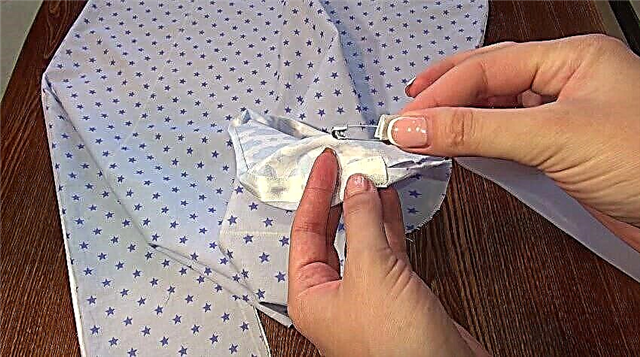
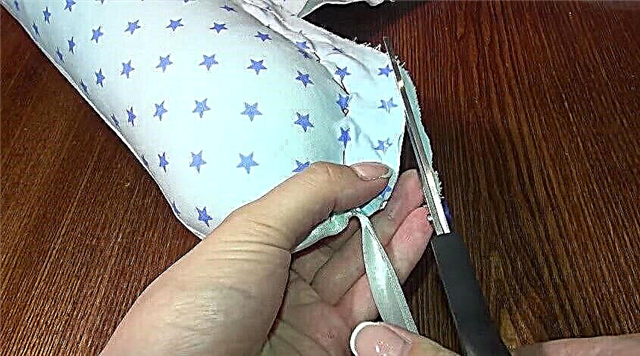
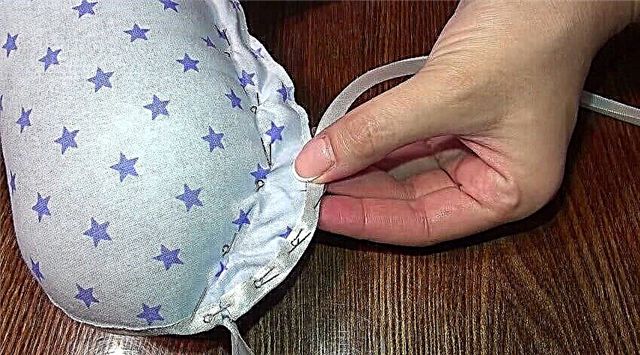
16. Now you need to insert a ribbon for tightening the cocoon into the drawstring from the slanting inlay. Use a safety pin.
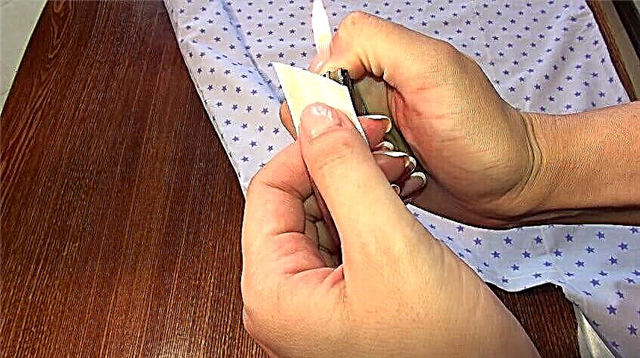
17. Cut the ends of the tape obliquely and secure with a lighter.
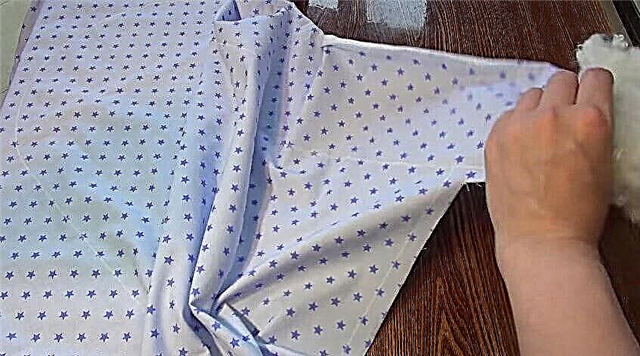
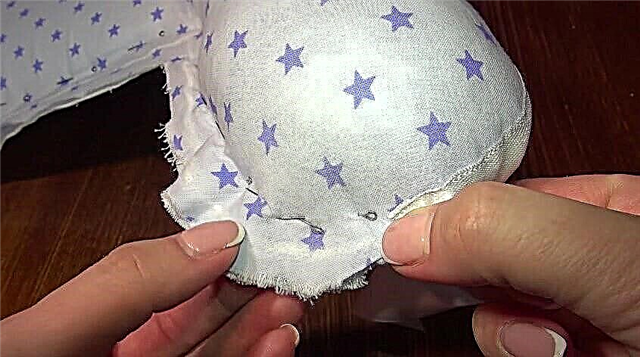
18. Fill the outer cocoon roller tightly with the holofiber through the two holes below.
19. Pin the areas through which the roller was filled with pins. At the same time, move the hollofiber inward so that it remains inside. The line along which you lay the pins should go about 1 cm deeper than the line drawn on the fabric, along which the cocoon will then be sewn - that is, you need to stab these areas along a line about 2 cm from the edge.

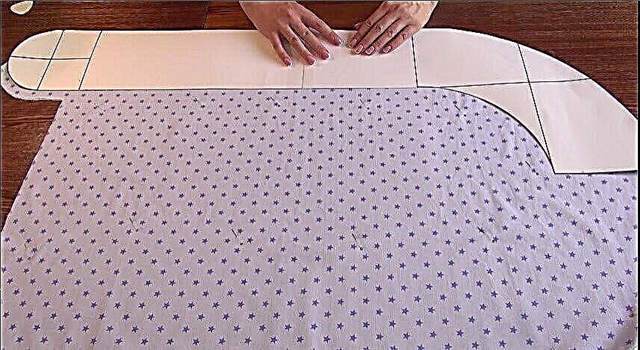
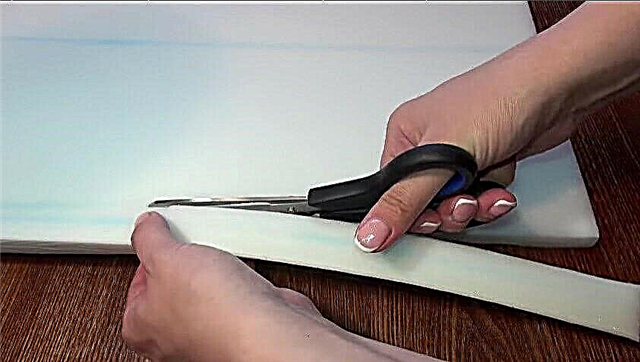
20. Now you need to cut the part out of foam rubber. Spread the foam on the work surface, put on top a paper part that was cut a little earlier from the middle of the paper pattern, and circle twice so that the edges coincide.
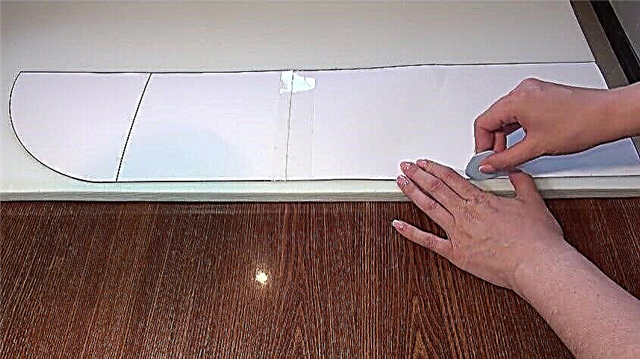
21. In order for the foam part to fit into the cocoon, the thickness of the foam must be taken into account. Divide the thickness of your foam by 2 and reduce the part by the resulting distance, making markings directly on the foam. For example: the thickness of the foam rubber is 2 cm, which means that you need to reduce the part by 2/2 = 1 cm. Draw a new line parallel to the existing one, departing from the original line 1 cm inward. Cut out the part.
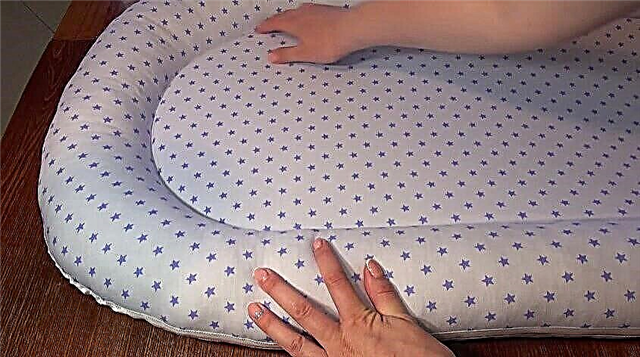
22. Insert the foam part in the middle of the cocoon and straighten it well.
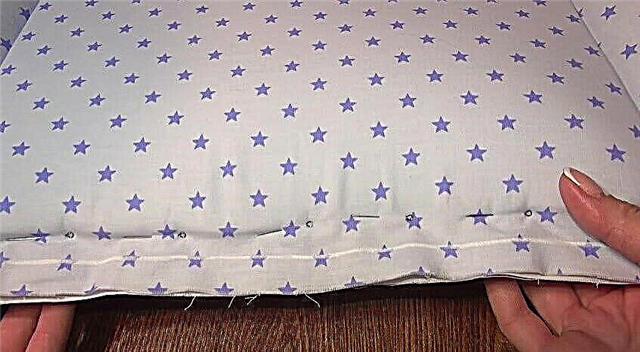
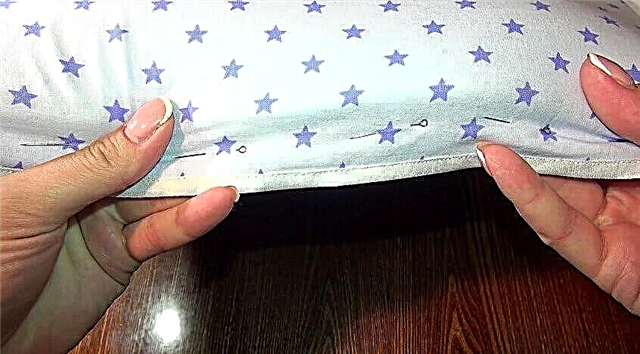
23. Now pin the hole at the bottom of the cocoon with pins. Please note: as in the case of the holes through which the roller was filled (see p. 19), the foam must be moved slightly inward and the hole should be punctured along a line 1 cm backward from the line along which the cocoon will be sewn.
24. Now you need to sew up the cocoon by laying a line along the drawn line.
25. Cut off excess allowances, leaving 3-4 mm from the seam.
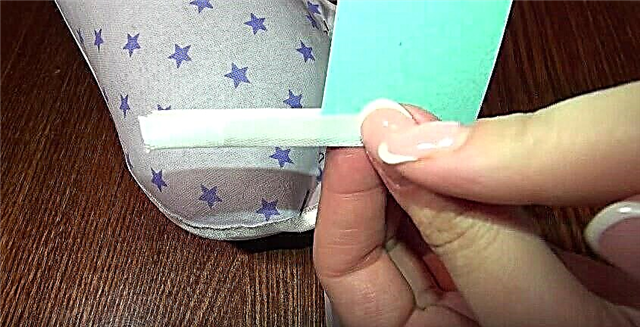
26. Iron the oblique trim along so that one edge is slightly wider than the other (the green piece of paper in the photo is for illustration purposes). So it will be easier to sew on the tape: you can safely scribble along the less wide side, being sure that on the other hand the edge of the tape will not “run away”.
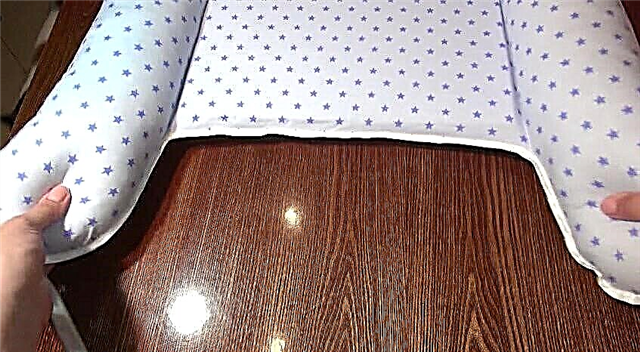
27. Tuck the end of the oblique tape inward and pin the tape to the entire edged edge, as shown in the photo.
28. Take a slanting trim, then remove the pins and stitch it.
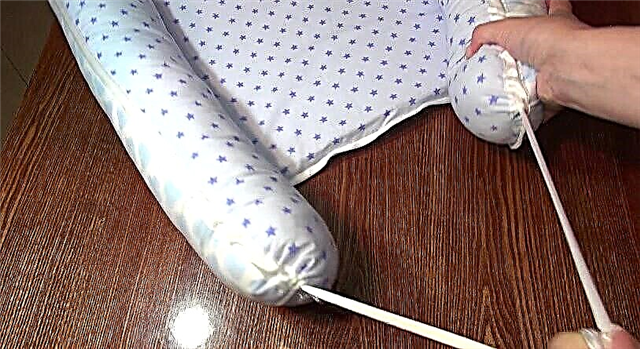
29. Remove all pins and straighten the cocoon filler.
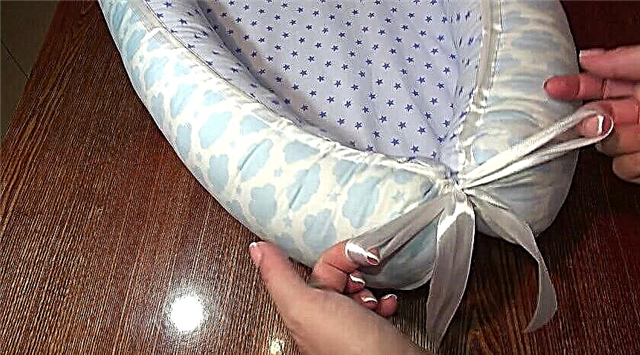
30. It remains only to pull off the cocoon, giving it shape. Grasp the ends of both ribbons and pull them well. Tie a knot and a bow. Done!
DIY baby blanket
More details - in the video:
Photo and source: YouTube / Sasha Mamasha